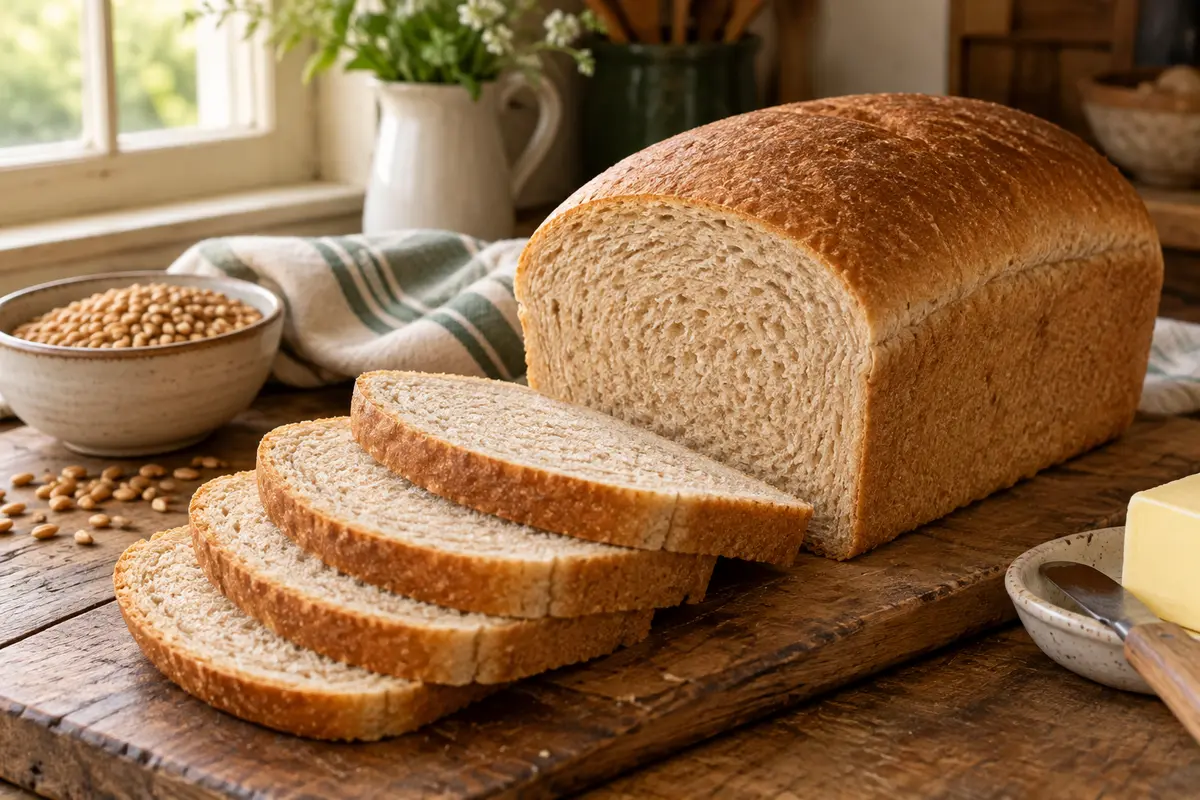
Hard white wheat is one of the best grains for a first fresh-milled yeast loaf. It has the strength needed for useful sandwich slices, but its flavor is milder and less bitter than many hard red wheats.
Why this is a good first loaf
The formula uses 100% freshly milled hard white wheat at a manageable 68% hydration. A short flour-and-water rest softens the bran before mixing, while modest honey and butter keep the crumb tender without making the dough complicated.
Ingredients
- 500 g fresh-milled hard white wheat flour, finely milled and unsifted
- 340 g lukewarm water, divided (start with 320 g and reserve 20 g)
- 35 g honey
- 30 g unsalted butter, very soft
- 10 g fine salt
- 6 g instant yeast
- Softened butter or neutral oil for greasing the pan
Baker’s percentages
| Ingredient | Weight | Baker’s percentage |
|---|---|---|
| Hard white wheat flour | 500 g | 100% |
| Water | 340 g | 68% |
| Honey | 35 g | 7% |
| Butter | 30 g | 6% |
| Salt | 10 g | 2% |
| Instant yeast | 6 g | 1.2% |
Method
- Mill the grain. Mill 500 g hard white wheat berries on a fine bread-flour setting. Let very warm flour cool for several minutes before mixing.
- Hydrate the flour. Combine the fresh flour with 320 g water until no dry flour remains. The mixture will look rough. Cover and rest 20–30 minutes.
- Finish the dough. Add honey, instant yeast, salt, and softened butter. Mix until the butter disappears and the dough becomes cohesive. Add the reserved 20 g water a little at a time only if the dough feels firm rather than tacky.
- Develop moderate strength. In a stand mixer, mix on low to medium-low for about 6–8 minutes. By hand, knead or perform repeated folds for 8–10 minutes. Stop when the dough is smoother, elastic, and tacky but not soupy. Fresh whole-wheat dough may not produce the paper-thin windowpane expected from white bread flour.
- Bulk ferment. Place in a lightly greased bowl or straight-sided container. Cover and let rise until approximately 60–75% larger, usually 60–90 minutes around 75°F. Do not insist on a full doubling.
- Shape. Grease a 9×5-inch loaf pan. Turn out the dough, gently press it into a rectangle about as wide as the pan, and roll it into a firm log. Pinch the seam and tuck the ends underneath. Place seam-side down in the pan.
- Final proof. Cover loosely and proof until the center of the dough crowns approximately 1 inch above the rim. This generally takes 45–75 minutes. The dough should slowly spring back from a gentle fingertip press and leave a shallow indentation.
- Bake. Heat the oven to 375°F (190°C), with the rack slightly below center. Bake 35–40 minutes. Tent loosely with foil during the last 10–15 minutes if the crust is dark enough. The center should reach 195–200°F.
- Cool completely. Rest in the pan for 10 minutes, then turn the loaf onto a rack. Wait at least 90 minutes—and preferably 2 hours—before slicing so the crumb can set.
Mixer and hand-mixing guidance
Stand mixer: Use the dough hook on low speed until the ingredients are combined, then medium-low only long enough to create a cohesive elastic dough. Scrape the bowl once or twice. Stop if the dough begins smearing and losing strength.
Hand mixing: Use damp hands and a bowl scraper during the sticky early stage. A pattern of one minute of folding followed by a five-minute rest is easier—and often more effective—than continuously fighting the dough on the counter.
Beginner troubleshooting
The dough is sticky: Wait until after the 20–30 minute rest before judging. If it strengthens during mixing and folding, it is probably behaving normally. See Why Is My Fresh-Milled Dough So Sticky?.
The loaf is dense: Check yeast freshness, dough temperature, and whether both rises were cut short. A dough that has risen only by the clock may still be underfermented.
The loaf rose and then collapsed: The final proof probably went too far, or all the reserved water was added when the flour did not need it. Bake when the crown reaches roughly 1 inch above the pan.
The top separates from the crumb: Roll the loaf firmly enough to avoid large trapped air pockets, but do not crush all the fermentation gas.
The crumb crumbles when sliced: Let it cool completely. Warm whole-grain bread often seems gummy or fragile even when it is fully baked.
Simple variations
- Milk loaf: Replace up to half the water with whole milk. Watch browning closely.
- Seeded loaf: Fold in 50–70 g softened sunflower, sesame, or pumpkin seeds after initial dough development.
- Two smaller pans: Divide between two approximately 8×4-inch pans and begin checking for doneness around 28–32 minutes.
- Less sweet: Reduce honey to 20 g without changing the water.
Fresh-Milled Bread Basics
This recipe is part of Grainiac’s ten-recipe foundation series:
Products Used in This Recipe
These tools make weighing, mixing, and handling fresh-milled dough easier. Use what you already own when it does the job well.
OXO 11-lb Digital Food Scale
For repeatable gram weights and controlled water adjustments.
View on Amazon ↗Affiliate link · commission may be earnedStainless Bench Scraper
Useful for shaping the loaf and cleaning sticky dough from the work surface.
View on Amazon ↗Affiliate link · commission may be earnedFine-Mesh Flour Sifter
Optional for removing a measured portion of coarse bran when a lighter loaf is desired.
View on Amazon ↗Affiliate link · commission may be earnedNutriMill Artiste Stand Mixer
A high-capacity mixer with dough hook for fresh-milled bread dough.
View on Amazon ↗Affiliate link · commission may be earnedAffiliate disclosure: As an Amazon Associate I earn from qualifying purchases. Recommendations are chosen for practical usefulness, not commission.
Learn more
Core references: Read the Fresh-Milled Flour Guide, use the Hydration Chart, troubleshoot dense bread and sticky dough, and review the recommended baking tools.
Use the Fresh-Milled Flour Hydration Chart, learn how to diagnose sticky dough, or work through Why Is My Fresh-Milled Bread Dense?.
← Back to all recipes