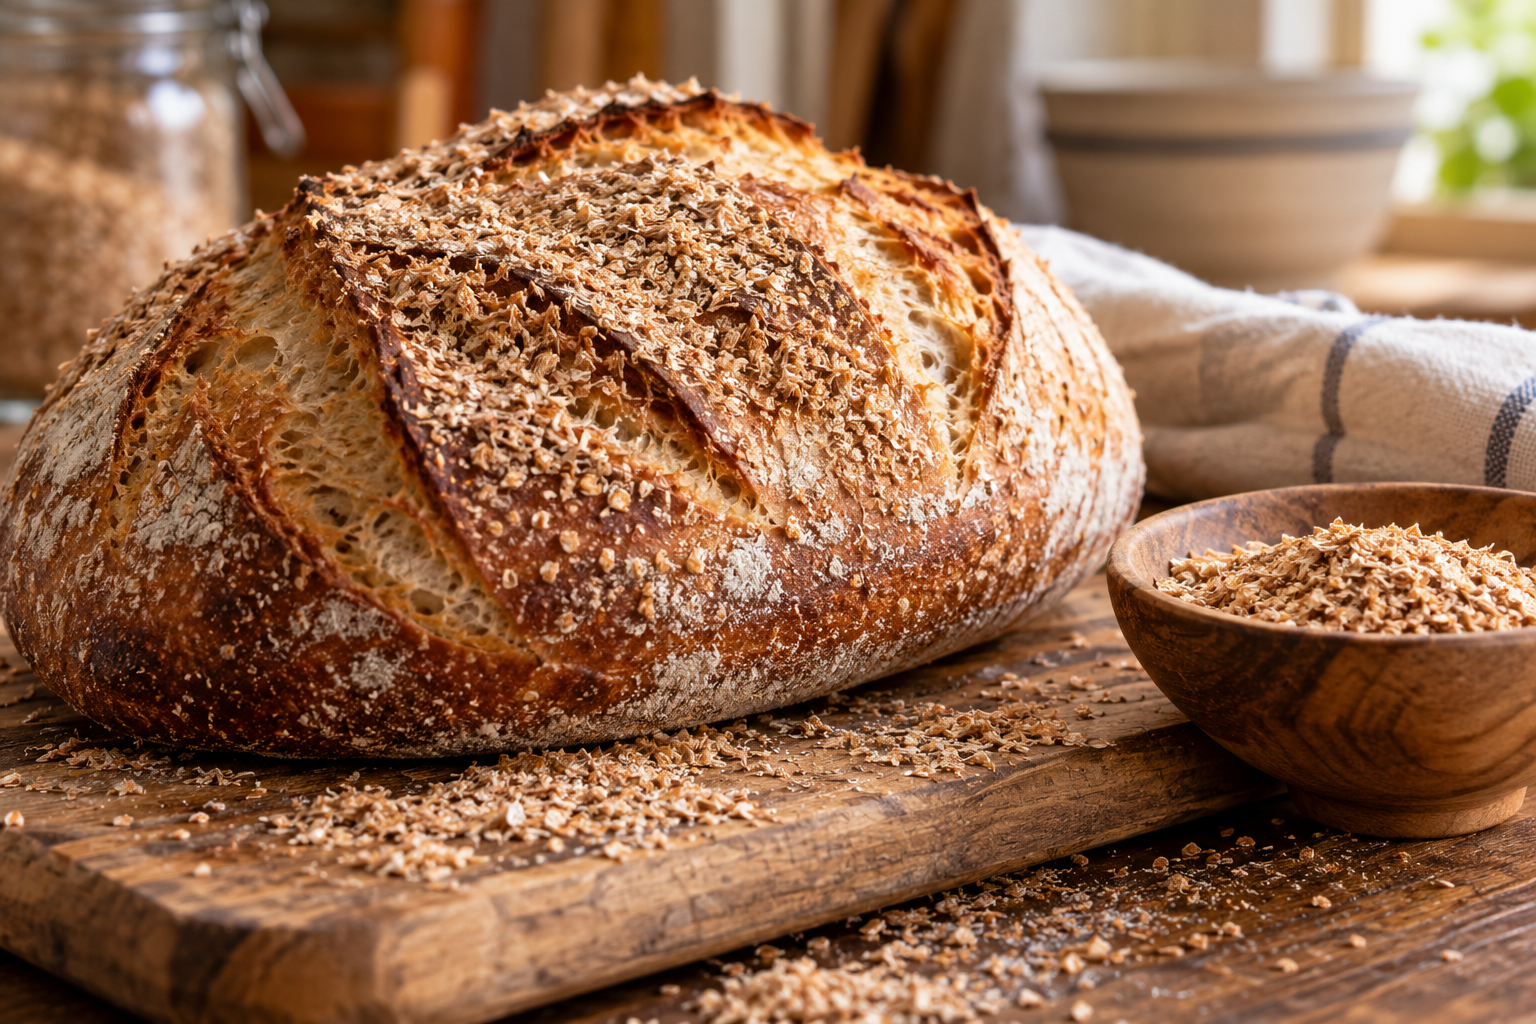
When you sift fresh-milled flour for a lighter loaf, the coarse bran left in the sieve still has plenty of flavor. Save it in a covered jar for the next bake. A light coating on the outside of a shaped loaf adds texture and keeps dough from sticking to the basket.
At a glance
Use clean, dry bran from freshly milled grain. Apply it after shaping and before the final proof, or dust the banneton first. A thin coat works better than a thick shell.
Step 1: Sift and save the bran
Mill the grain on a fine setting. Pass the flour through a fine-mesh sieve and weigh the removed bran. Keep it dry and covered. If the bran has sat around and smells stale, use a fresh batch instead.
Step 2: Choose the surface
For a banneton loaf, scatter a spoonful of bran evenly into the basket. You can mix it with rice flour for easier release. For a pan loaf or a free-form loaf, lightly mist the shaped surface with water, then sprinkle a very thin layer. Press gently so it adheres.
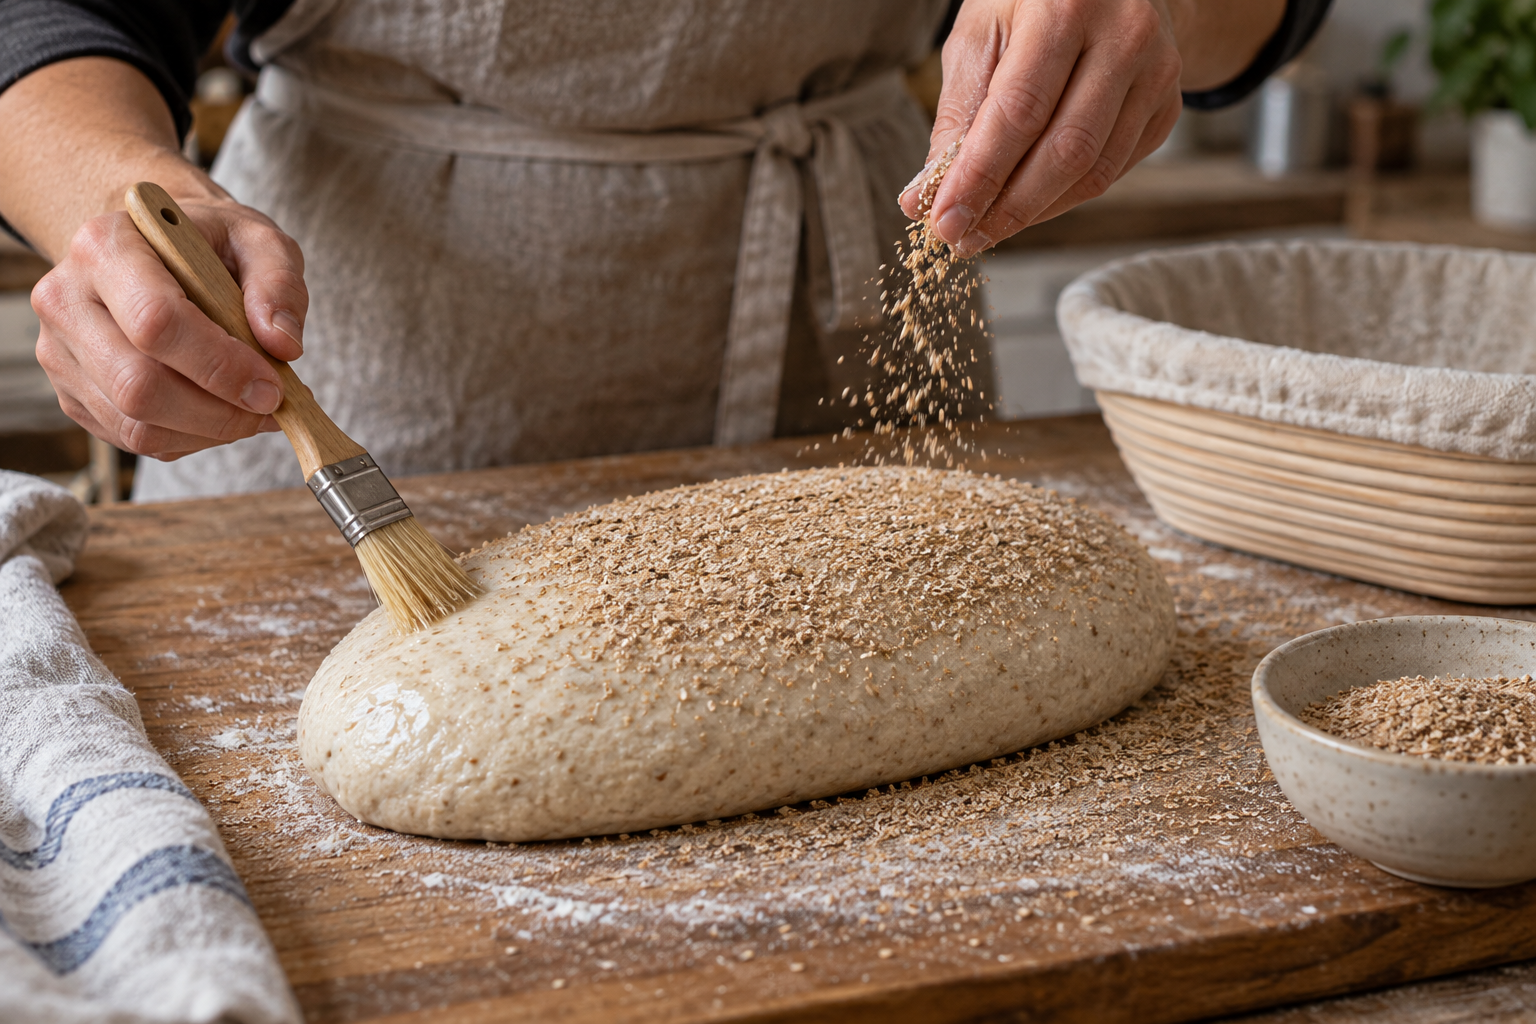
Step 3: Proof and bake
Proof as the recipe directs. A bran-coated banneton loaf turns out with its coating on top; score with a confident cut through the coating. Bake with your usual steam or covered Dutch oven. Bran darkens quickly, so lower the oven temperature slightly if your crust browns before the loaf is done.
Common mistakes
- Heavy coating: Loose bran falls off and can taste bitter after scorching. Use less.
- Wet basket: Bran pasted into a damp banneton can stick. Dry the basket well.
- Overproofing: Topping cannot rescue a weak, overproofed loaf. Judge the dough, not the clock.
For a softer sandwich crust, brush the baked loaf with butter and skip the bran on the top. For a hearty country loaf, it is a useful way to put every part of the grain to work.
Grains & tools
Use the gear you already own. A gram scale and a fine-mesh sifter are handy for these methods.
OXO digital scale · Fine-mesh sifter
Affiliate disclosure: As an Amazon Associate I earn from qualifying purchases. I may also earn from qualifying King Arthur Baking purchases through Awin.